In today's episode we will step through how to implement your applications routing using React Router, configuring everything from:
- Defining Routes,
- Linking between content,
- Setting up parameters,
- Utilizing Route hooks
Let's get started!
Table of Contents:
- 🤔 What's a Route?
- Setting Up Routing in React
- Configuring Routes
- Linking between pages
- Parameterized Routes
- Route Hooks
- useHistory vs useLocation
- Redirect
- 🙏 Closing
🤔 What's a Route?
From the get-go React Apps are configured as a Single Page Application (SPA).
This means when you build your App everything is shelled into your projects root index.html file made available in the public folder. If you create anchor tag links expecting your users to be navigated to another landing URL, it simply will not work as the only .html page exported from the build at this stage is the root file.
This is where the recommended library React Router comes into play.
A route is where we bind the URL to our React App and as developers, we can configure them in a meaningful way. For example we can configure:
- our home page:
/, - nested child pages:
/product-category/products, - contextual information:
/product-category/products/ABC->/product-category/products/:productId-> console.log(productId) // "ABC", - redirects,
- fallbacks to things like a "Page not found" page.
Setting Up Routing in React
Before we start implementing we should spend some time upfront to design what our Routes will look like. The following questions help me during this phase:
Will your App be publicly available and are you expecting Google (or any other engine) to index your pages? The following topics are worth a read:
Will users copy/paste URLs to deep link into your content?
Will users bookmark URLs for future use?
For the rest of our journey we will build out our App answering the last two questions.
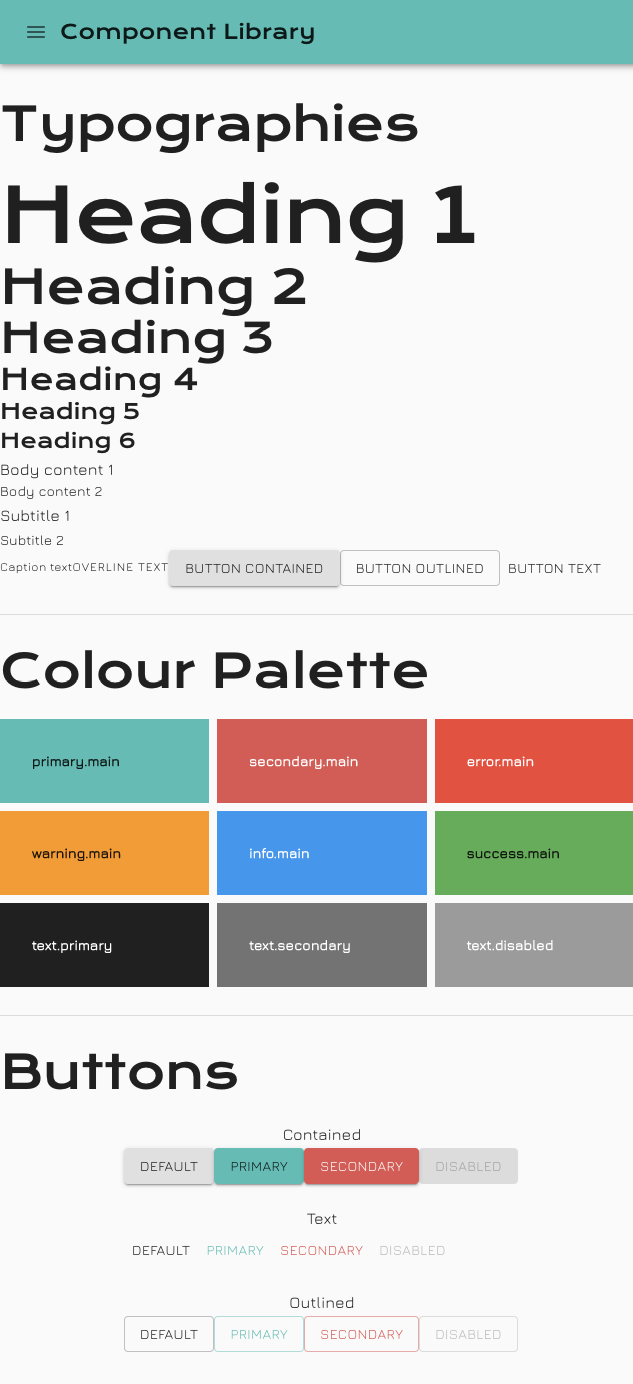
Let's check the current state of our App to see how we can design our Information Architecture.

There are 3 areas which can be broken down into smaller digestible bits of content: Typographies, Colour Palette, Buttons. Off the bat we can declare 3 routes:
/typographies/colour-palette/buttons
Take some time to imagine how your App will evolve. I foresee it containing a mixture of information:
- Getting Started (Home page):
/ - UI:
/ui/* - Components:
/components/* - Feedback:
/feedback - Page Not found
So, because of this we should change our routes to be:
/ui/typographies/ui/colour-palette/ui/buttons
Now that we have a clear idea on how our routes can be implemented, lets install the react-router-dom library to get started:
npm install react-router-dom
npm install --save-dev @types/react-router-dom
Configuring Routes
It's best to setup Routes at the highest logical level in your App so all the Router contextual information can propagate down to your components.
Following on from the previous episode, we can update our App code with the following:
// src/App.tsx

import { BrowserRouter } from "react-router-dom";

import { CssBaseline, ThemeProvider } from "@material-ui/core";

import AppBar from "./components/AppBar";
import BodyContent from "./components/BodyContent";
import Routes from "./Routes";
import Theme from "./theme";

export default function App() {
  return (
    <ThemeProvider theme={Theme}>
      <CssBaseline />
      <BrowserRouter>
        <AppBar />
        <BodyContent>
          <Routes />
        </BodyContent>
      </BrowserRouter>
    </ThemeProvider>
  );
}
Note how the BrowserRouter component wraps your content.
Update the BodyContent code with the following:
// src/components/BodyContent/index.tsx

import React from "react";

import { makeStyles } from "@material-ui/core";

const useStyles = makeStyles(() => ({
  root: {
    margin: '0 auto',
    maxWidth: '57rem',
    padding: '2rem 0'
  }
}))

export default function BodyContent({ children }: { children: React.ReactNode }) {
  const classes = useStyles();

  return (
    <main className={classes.root}>
      {children}
    </main>
  )
}
Note how we've replaced the manually imported UI components with React's Children prop; this is where our new Router will pass in the Component per the browser's URL.
Lastly we've got to create our Routes file:
// src/Routes.tsx

import React from "react";
import { Route, Switch } from "react-router-dom";

import Buttons from "./ui/Buttons";
import ColourPalette from "./ui/ColourPalette";
import Typographies from "./ui/Typographies";

export default function Routes() {
  return (
    <Switch>
      <Route path="/ui/buttons" component={Buttons} />
      <Route path="/ui/colour-palette" component={ColourPalette} />
      <Route path="/ui/typographies" component={Typographies} />
    </Switch>
  );
}
Note the use of Route and Switch.
React Router: Route
The Route component is perhaps the most important component in React Router to understand and learn to use well. Its most basic responsibility is to render some UI when its path matches the current URL.
React Router: Switch
Renders the first child
<Route>or<Redirect>that matches the location. How is this different than just using a bunch of<Route>s?<Switch>is unique in that it renders a route exclusively. In contrast, every<Route>that matches the location renders inclusively.
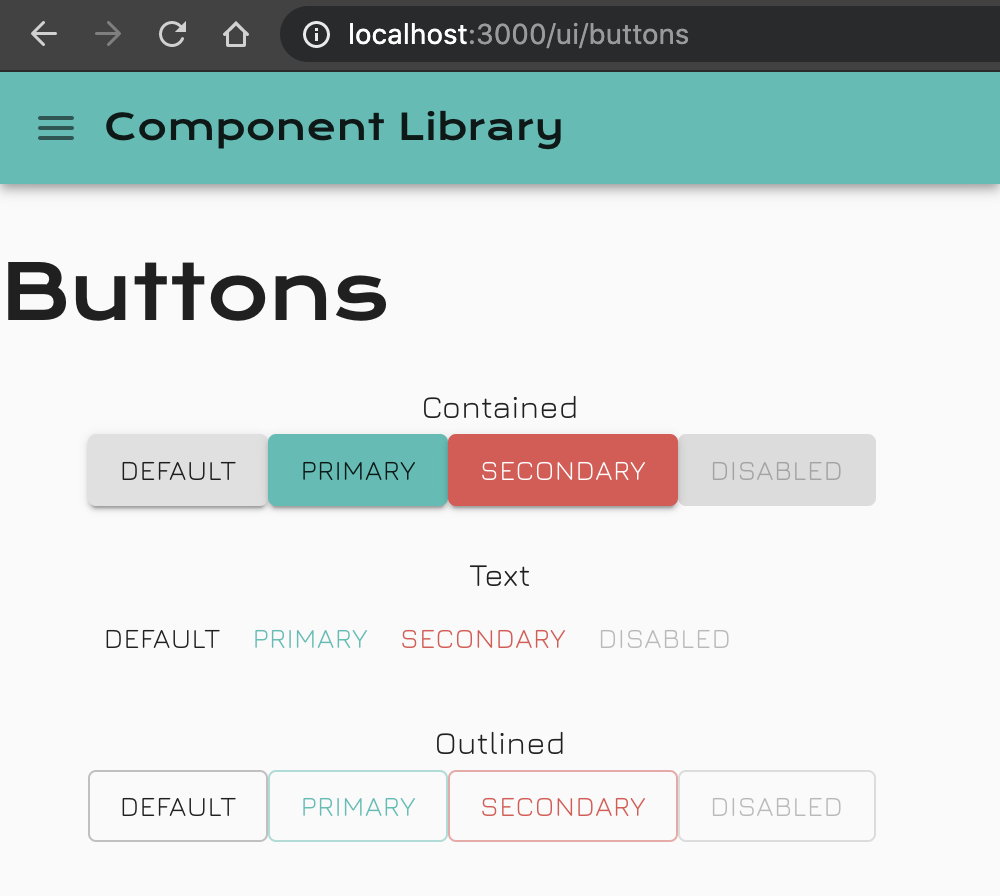
Let's take a look at what our Buttons page looks like, by typing in the URL: "http://localhost:3000/ui/buttons"

❤️ That's pretty cool, we've now just split out the content for our App!
Linking between pages
Now that our base routes have been setup, let's configure the Links in our left menu to allow users to navigate between the content.
// src/components/MainMenu/index.tsx

import React from "react";
import { useHistory } from "react-router";

import { Drawer, List, ListItem, ListItemText } from "@material-ui/core";

const menuItems = [
  { label: 'Buttons', url: '/ui/buttons' },
  { label: 'Colour Palette', url: '/ui/colour-palette' },
  { label: 'Typogaphies', url: '/ui/typographies' },
]

function MenuItems({ setOpenMenu }: { setOpenMenu: React.Dispatch<React.SetStateAction<boolean>> }) {
  const { push } = useHistory();

  const onLinkNavigation = (url: string) => {
    push(url);
    setOpenMenu(false);
  }

  return (
    <List>
      {menuItems.map(({ label, url }) => (
        <ListItem button key={label} onClick={() => onLinkNavigation(url)}>
          <ListItemText primary={label} />
        </ListItem>
      ))}
    </List>
  )
}

/* ...Rest of code */
Notes:
- We moved the
menuItemsoutside the component, this is simply to initialize the menuItems once and refer to it there after. - We declare the use of the
Historyhook and explicitly require itspushfunction for future use. - We then created a function
onLinkNavigationto manage the users click event. Upon clicking we instruct the App to push the new navigation URL into the browsers History queue; then we hide the menu.
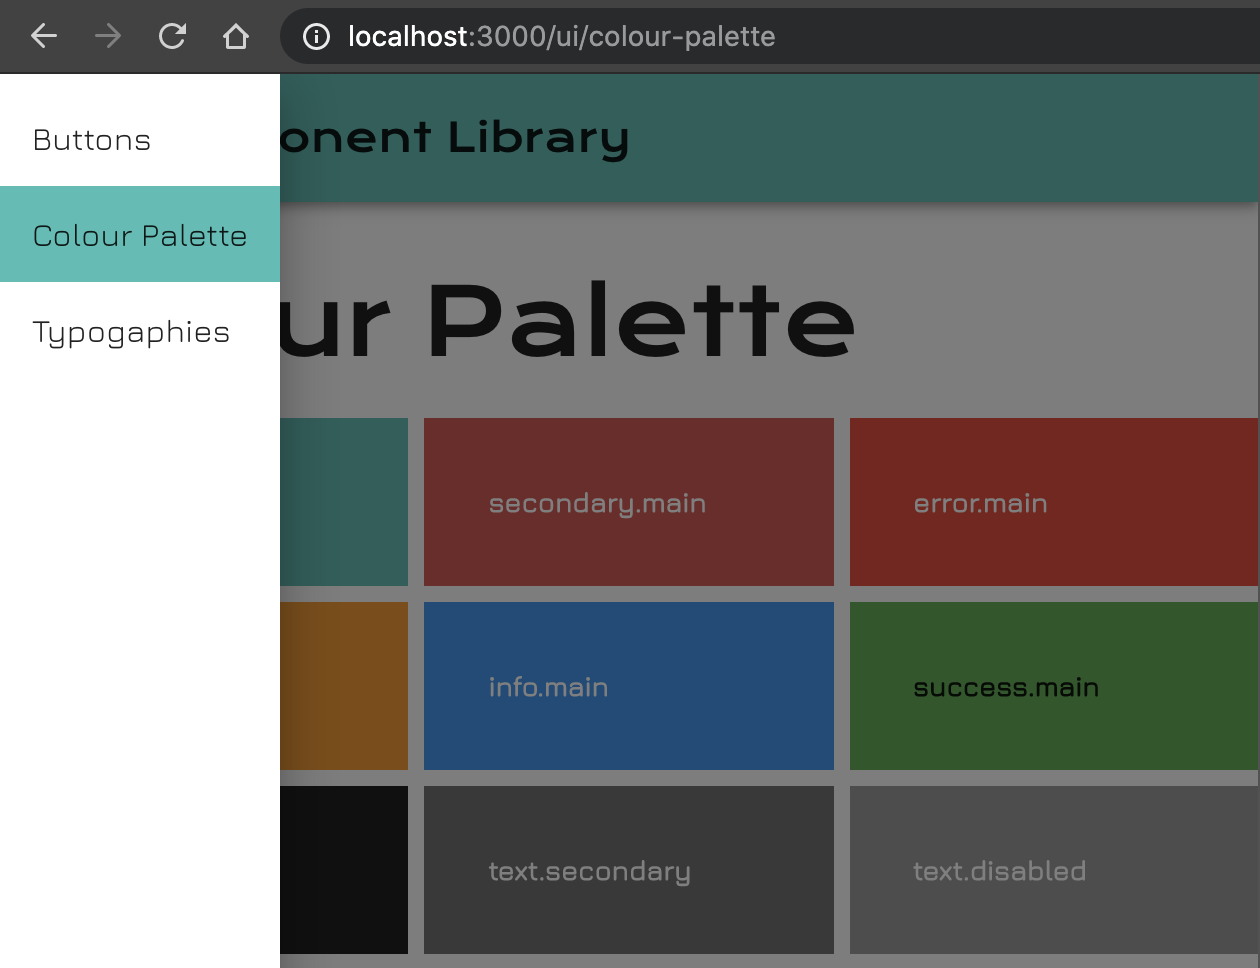
Here's what this new change looks like:

⚠️ Hang on, this implementation has flaws!
Even though this functionally works, it's unfortunately not accessible!
MUI Have realized this is a problem and have provided a way for us to integrate 3rd party components such as react-router-dom Link component; which would ultimately render our ListItem component as an anchor tag, with a href value.
Let's make the changes:
// src/components/MainMenu/index.tsx

import React from "react";
import { Link } from "react-router-dom";

import { Drawer, List, ListItem, ListItemText } from "@material-ui/core";

const menuItems = [
  { label: 'Buttons', url: '/ui/buttons' },
  { label: 'Colour Palette', url: '/ui/colour-palette' },
  { label: 'Typogaphies', url: '/ui/typographies' },
]

function MenuItems({ setOpenMenu }: { setOpenMenu: React.Dispatch<React.SetStateAction<boolean>> }) {
  return (
    <List>
      {menuItems.map(({ label, url }) => (
        <ListItem
          button
          component={Link}
          key={label}
          onClick={() => setOpenMenu(false)}
          to={url}
        >
          <ListItemText primary={label} />
        </ListItem>
      ))}
    </List>
  )
}

type Props = {
  openMenu: boolean;
  setOpenMenu: React.Dispatch<React.SetStateAction<boolean>>;
}

export default function MainMenu({ openMenu, setOpenMenu }: Props) {
  return (
    <nav aria-label="main menu navigation">
      <Drawer
        anchor="left"
        disablePortal
        onClose={() => setOpenMenu(false)}
        open={openMenu}
        variant="temporary"
      >
        <MenuItems setOpenMenu={setOpenMenu}/>
      </Drawer>
    </nav>
  );
}
Notes:
- We've imported the
Linkcomponent fromreact-router-domand then passed it through to theListItem"component" property. This then extends the TypeScript definition ofListItemwith the types ofLink, making the "to" property available. - We then removed the need to include the
Historyhooks as we've passed the menuItem's url value into the "to" property. - We update the "onClick" property to collapse the main menu there after.
🍾 Those links are now accessible!
Parameterized Routes
Depending on your App's architecture and the data in which it needs to process, there will be a time where you need to configure parameters.
There are two type of parameters:
Path Parameters:
/productCategory/:category/product/:productId
const { match: { params }} = useParams();
console.log(params);
// { category: string?, productId: string? }

const { search } = useLocation();
console.log(search);
// ""
Search Parameters:
/products-page?category=CATEGORY_ID&productId=PRODUCT_ID
const { search } = useLocation();
console.log(search);
// "?category=CATEGORY_ID&productId=PRODUCT_ID"

const { match: { params }} = useParams();
console.log(params);
// {}
You can also combine the two:
/productCategory/:category/product/:productId?tab=general
const { match: { params }} = useParams();
console.log(params);
// { category: string?, productId: string? }

const { search } = useLocation();
console.log(search);
// "?tab=general"
It can be hard to differentiate when to use either solution but I draw the line applying the following principles:
- Use Path params if it follows on the Information Architecture, maintaining its hierarchy.
- Fallback to Search params if it breaks the above or the Search param is used to alter a smaller section of your App.
For pure example, we can implement Parameterized Routes in our UI Library (this is just for demonstration purposes).
import React from "react";
import { Route, RouteComponentProps, Switch } from "react-router-dom";

export default function Routes() {
  return (
    <Switch>
      <Route path="/ui/:name" component={UIPage} />
    </Switch>
  );
}

function UIPage({ match: { params: { name } } }: RouteComponentProps<{ name?: string }>) {
  return (
    <>
      name: {name}
    </>
  )
}
Notes:
- We've replaced all of the explicit routes with a single pattern match Route. The convention is to add your arbitrarily defined parameter name after the parent route. ie.
/ui/= parent route.:name= parameter name. - We've then created a
UIPagecomponent so you can see how the parentRoutecomponent propagates data down. - We've defined the parameter Type inside the
RouteComponentPropsdefinition so our codebase has reference to it.
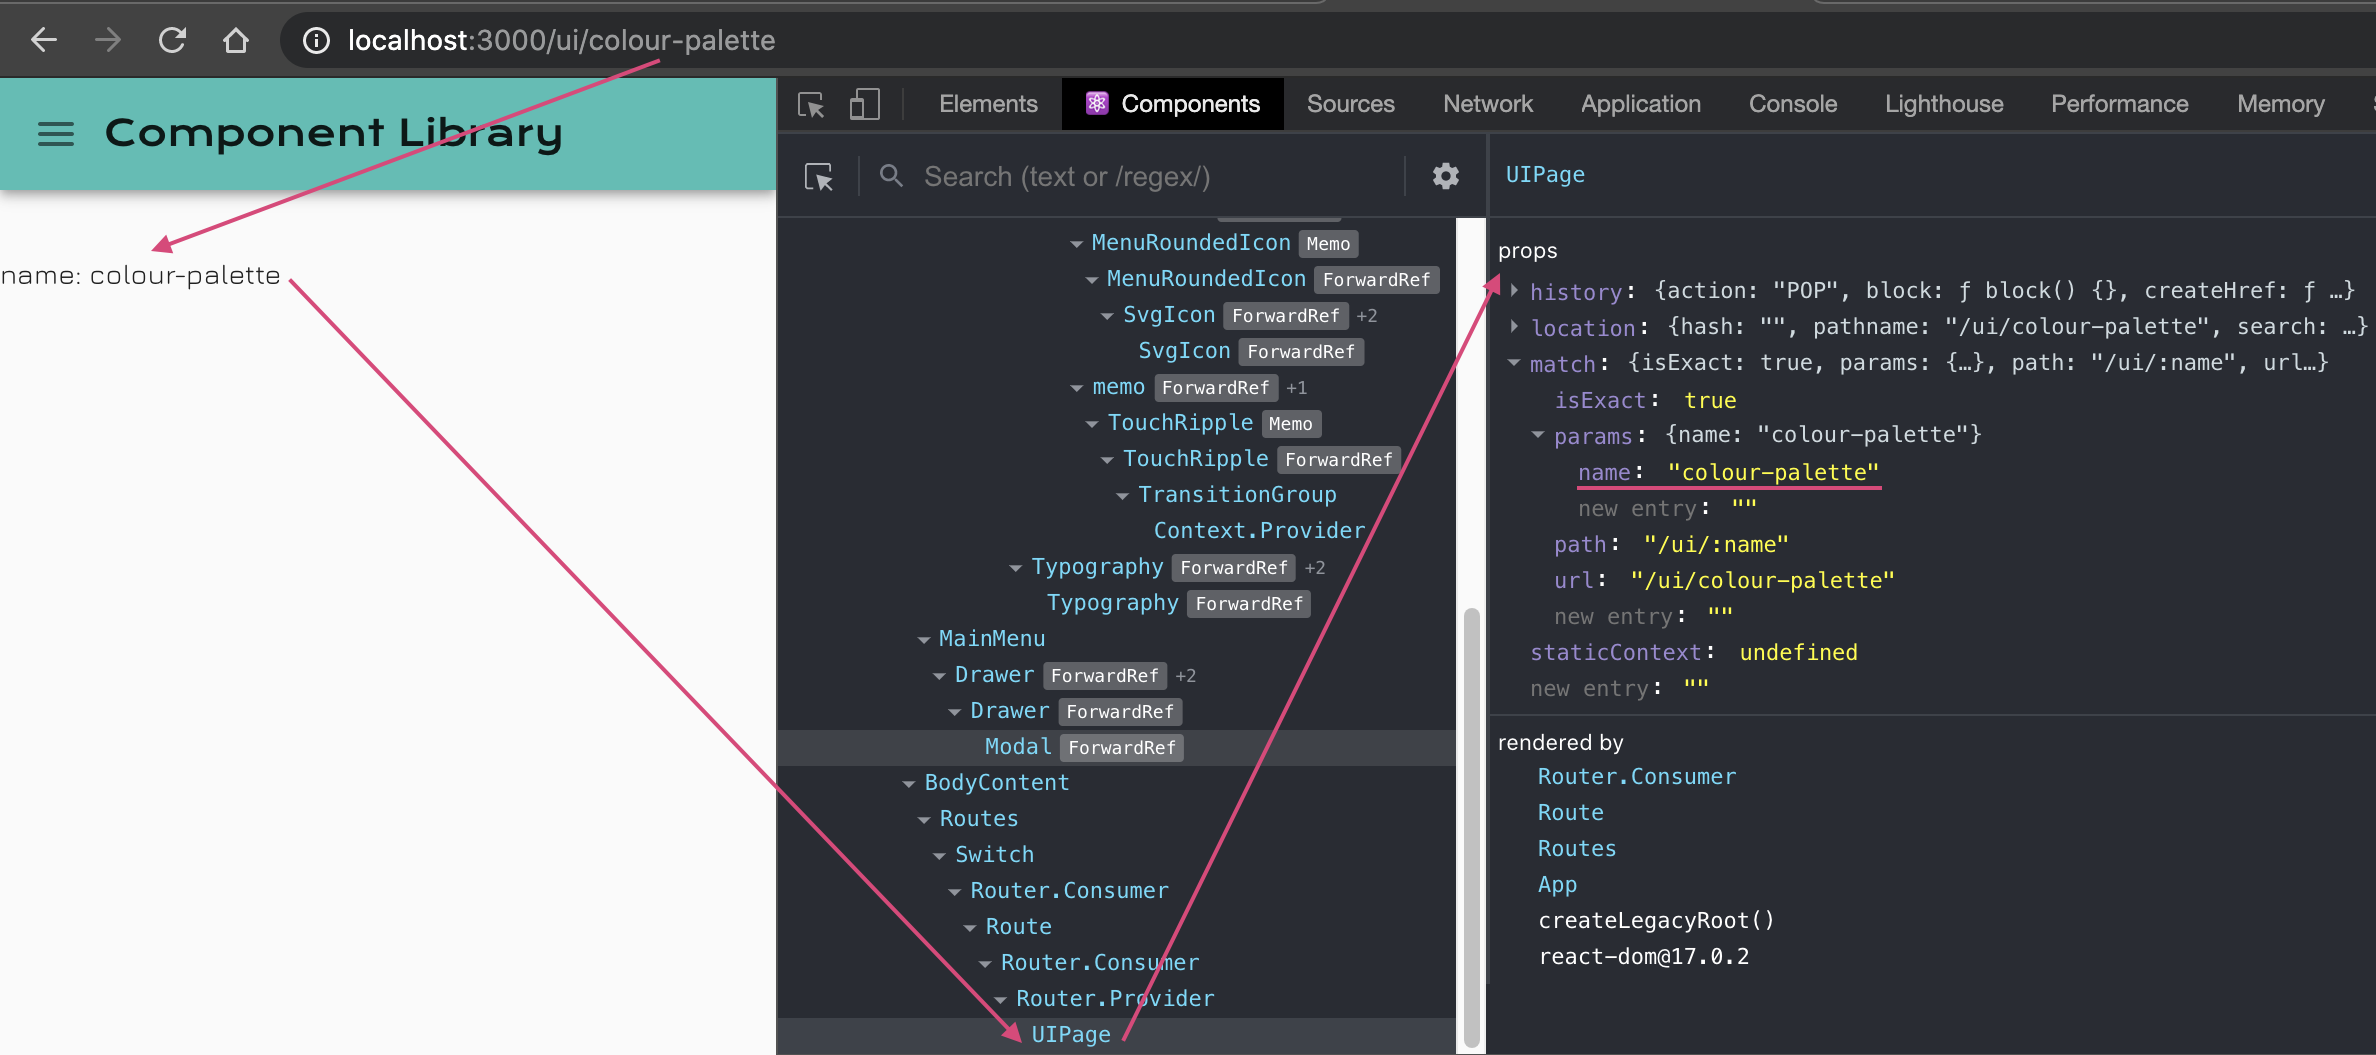
Here's a screenshot illustrating how the URL affects the View and what props get passed down through the Route HoC.

Route Hooks
There will be times you'll need access to the URL parameter when you are many levels deep in the component tree.
This is where Route Hooks come into play, the hook exposes the current state of your BrowserRouter.
Here's an example demonstrating the above need:
import React from "react";
import { Route, RouteComponentProps, Switch, useRouteMatch } from "react-router-dom";

export default function Routes() {
  return (
    <Switch>
      <Route path="/ui/:name" component={UIPage} />
    </Switch>
  );
}

function UIPage({ match: { params: { name } } }: RouteComponentProps<{ name?: string }>) {
  return (
    <>
      name: {name}
      <Child1 />
    </>
  )
}

function Child1() {
  return <Child2 />
}

function Child2() {
  return <Child3 />
}

function Child3() {
  const { params } = useRouteMatch();
  return (
    <>

      URL parameter: {JSON.stringify(params)}
    </>
  )
}
Notes:
- The parent page renders Child1 -> renders Child2 -> renders Child3
- Child3 uses the the
useRouteMatchhook which exposes the route's current Match properties. The component now has access to the URL parameter to do as it wishes.
Notice how clean this implementation is, there are no prop drilling annoyances.
Let's now use this hook to show which of the Left Menu items are activate.
// src/components/MainMenu/index.tsx

import React from "react";
import { Link, useLocation } from "react-router-dom";

import { Drawer, List, ListItem, ListItemText } from "@material-ui/core";

const menuItems = [
  { label: 'Buttons', url: '/ui/buttons' },
  { label: 'Colour Palette', url: '/ui/colour-palette' },
  { label: 'Typogaphies', url: '/ui/typographies' },
]

function MenuItems({ setOpenMenu }: { setOpenMenu: React.Dispatch<React.SetStateAction<boolean>> }) {
  const { pathname } = useLocation();

  return (
    <List>
      {menuItems.map(({ label, url }) => (
        <ListItem
          button
          component={Link}
          key={label}
          onClick={() => setOpenMenu(false)}
          style={pathname === url ? { backgroundColor: '#40bfb4' } : undefined}
          to={url}
        >
          <ListItemText primary={label} />
        </ListItem>
      ))}
    </List>
  )
}

/* ...Rest of code */
Notes:
- We've introduced the
useLocationhook so we can use thepathnameto validate if one of our links are active - We've added a
styleprop to theListItemcomponent so we can visually change the background colour if it is active.

useHistory vs useLocation
Sometimes you need access to the current pathname, derived from the Location object. It can be easy to confuse where to retrieve the current pathname from as both useHistory and useLocation expose it. But the truth of the matter is useLocation is the one to use in this case as it exposes the current state values.
Redirect
There might be times where your App's Information Architecture changes and you need to redirect users from 1 area to another. This is where Redirect comes in handy, you simply find the Route you want to target and define the Redirect component.
import React from "react";
import { Redirect, Route, RouteComponentProps, Switch, useRouteMatch } from "react-router-dom";

export default function Routes() {
  return (
    <Switch>
      <Redirect from="/ui/:name" to="/uiNew/:name" />
      <Route path="/uiNew/:name" component={UIPage} />
    </Switch>
  );
}

/* ...Rest of code */
Notes:
- We've inserted the
Redirectcomponent before theRouteComponent - We've defined the
fromprop with the old URL we want to redirect from. Likewise we're defined thetoprop to instruct where to redirect to. - We've updated the
Routeto contain the new pathname and the rest is business as usual.
🙏 Closing
At this stage your application should be wrapped with a Router Component. You should have enough knowledge on how to setup your Applications routes, link between pages and use Router hooks to access parameterized data.
You are now ready to move onto the next episode where I’ll walk you through how to implement React Components, covering the following topics:
- Component Fundamentals
- Component Hooks
- Component Composition
Don't be shy, get in touch with us!
